Guest Designer Series with Kary, Maartje, Amanda and Genny
Welcome back to another awesome day of inspiration with some of our Guest Designers!
** Kary - karylim **
Hi, I'm Kary from Western Australia. I was introduced to stamping when I visited the Kentucky State Fair years ago when I was in Louisville for work. For several years thereafter, my work has led me to live in several different countries and the stamping supplies always travelled with me. I think my cardmaking style has changed so much and I discovered I really love to color, to create fun scenes and work with cute critters. And so, you can see why I love Mama Elephant stamps so much. I can spend hours creating cards (no card is the same) and I love giving them away. The joy on the faces of the card recipients really warms my heart. I'm really excited to be a guest designer for Mama Elephant's 9th Anniversary release. It's such a fantastic release!!
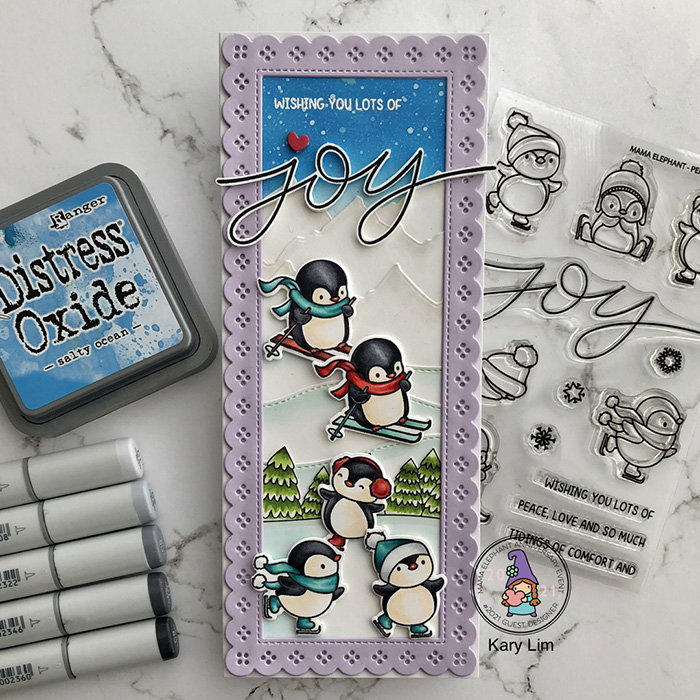
For my card, I had this fun winter scene in mind. I stamped and colored the penguins with copic markers and die-cut them using the coordinating dies. To create the scene, there are 4 parts to it. On a slimline sized cardstock (Neenah solar white paper cut to size 2 3/4"x 73/4"), I did some ink blending with Distress Oxide Salty Ocean - just a small section at the top of the paper. I then spritzed some fine mist of water on it, dried it and followed by a spritz of sparkle shimmer. To finish off the skies section, I added some white droplets by tapping a fine brush with white watercolour paint.
Next, I created the mountains. I die-cut 3 pieces of white cardstock using the KingdomTrio mountains die. I added some shading to the mountains using Copic markers Warm Grey shades W00 and W1.
To create the slopes, I die-cut Hillside Cover on white cardstock and trimmed off three hillside slopes. I added some shading as well to the slopes with Copic markers BG10 and BG0000.
For the skating rink, I stamped the trees from Scene Builder and colored them with Copic markers YG17, YG03 and YG11. I added BG90, BG10, BG000 to the skating rink just in front of the trees. I then fussy cut around the trees.
To assemble the scene, I adhered the mountains to the skies cardstock, then the ski slopes and the skating rink as shown and trimmed off the sides that may be larger than the base cardstock. I then stamped the sentiment "Wishing you lots of" with Versamark at the top left corner and white heat embossed it. Then it was time to place the frame over it. I die-cut the Slim Fancy Fence twice with lilac cardstock and adhered them together and placed them over the scene piece.
I placed 2 of the skiing penguins as shown with foam adhesive, then added the 3 skating penguins on the rink with foam adhesive as well. To finish off the scene, I stamped the huge "Joy" sentiment on white cardstock with black ink and fussy cut it out. I added really slim foam adhesive at the back of the word and adhered it to the card front. To add a little interest, I die-cut the red heart from Hilly Hello to complete the Joy sentiment. I then adhered the finished scene to a white cardbase that measures 3.5" x 8.5".
I hope you like the card and hope it inspires you to create your own.
** Maartje - craftycrowdesigns **
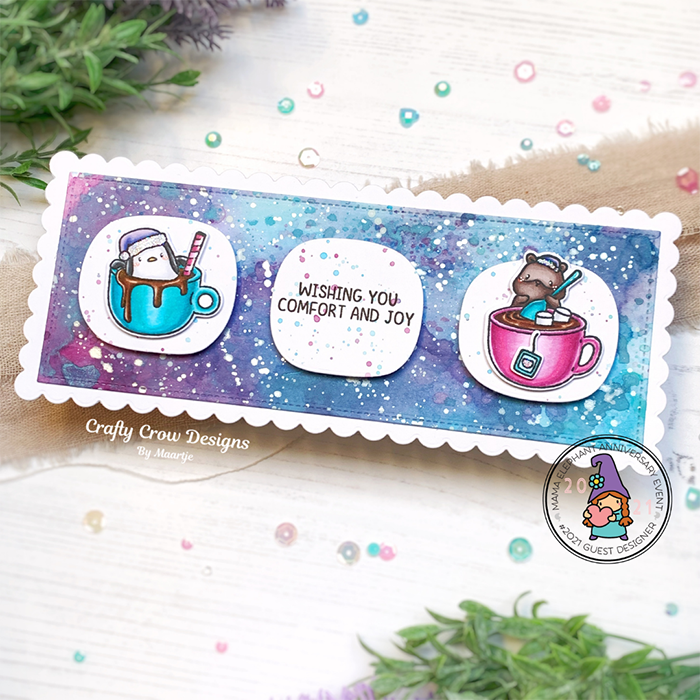
Hi crafty friends! Maartje here from Crafty Crow Designs I was very lucky to receive the oh-so-adorable Hot Cocoa stamp set. I colored the cute critters with my Copic markers, do you have a favorite? For the background I used the Distress Ink smooshing technique with colors that match nicely with the critters. To create the slimline design, I used the Slim Card Basics die, which really has become a staple in my craftroom! On my YouTube channel you can watch the video tutorial of this slimline holiday card.
** Amanda - twiddlersnook **
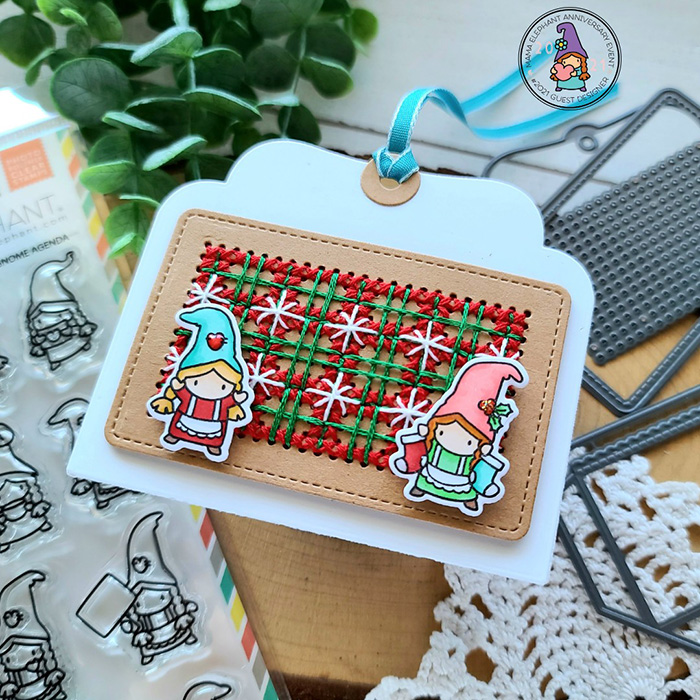
Hi crafty friends! This is Amanda from Twiddler's Nook sharing a sweet gift card holder featuring the new Little Girl Gnome Agenda cuties, those awesome Easy XMas Greetings and the previously released Gift Pocket Tag dies.
I was super excited to sit and stitch a little design before moving on to stamping and coloring my little gnomes.
I cut the other elements for the gift pocket, inked up a little shadow on one side, assembled the pocket and then adhered my images and sentiment with foam squares.
For finishing touches I added some glossy accents to various parts of the images and also a little unicorn stickles to some parts too. I love these finishing details on my projects. They just bring things to life when they sparkle and shine in the light.
I appreciate you sharing your time with me. Have a fabulous day!
** Genny - g.m.v.scrappin **
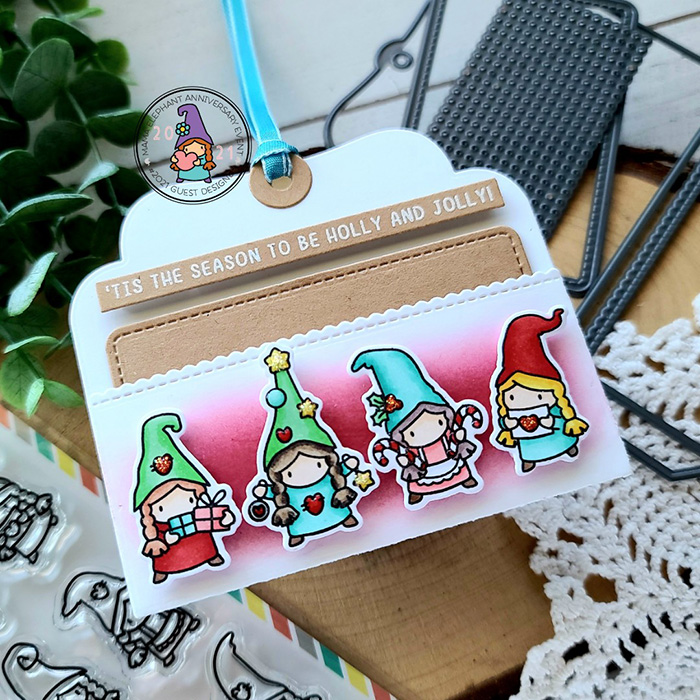
Hello friends, my name is Genny and my projects can be found at @g.m.v.scrappin. I started out as a scrapbooker and started making cards in 2016. Since then I’ve been refining my alcohol marker blending skills and have become absolutely addicted to all of the little characters to build scenes with.
For this card, I used the Tree Picking stamp set, on a slimline card built from the Slim Card Basics die set.
I also used the Scene Builder stamp set and the Big Merry and Bright Creative Cuts.


